Here at Patterns in the Cloud, we understand that customizing the look and feel of shop features to help maximize conversions, create cohesion, and make your shop as user friendly and well designed as possible is a constant need.
One of the requests we get a lot from merchants is for help customizing the Autoshop Schedule Options displayed on the Product and Cart pages in WooCommerce, particularly converting the options from a Radio & Select drop down to just radio options or buttons. With that in mind we thought this would be a good time for a tutorial!
Getting Ready To Customize!
When it comes to customizing anything in WordPress, be it a Theme like Storefront or Flatsome, or a Plugin like WooCommerce or Autoship Cloud, a first step should always be to create a child theme. Creating a child theme and making your changes either through the functions.php file in the child theme or through overriding template files in the child theme allows you to change aspects of your site’s appearance yet still preserve your theme’s look and functionality and prevent your changes from being lost when your theme and/or plugins are updated.
What we’ll be doing!
In this tutorial we’ll be changing the default Autoship Schedule Options from the out of the box layout ( Seen Below ) to a custom radio only layout allowing customers to Autoship products and select the Scheduled Order frequency with a single click.
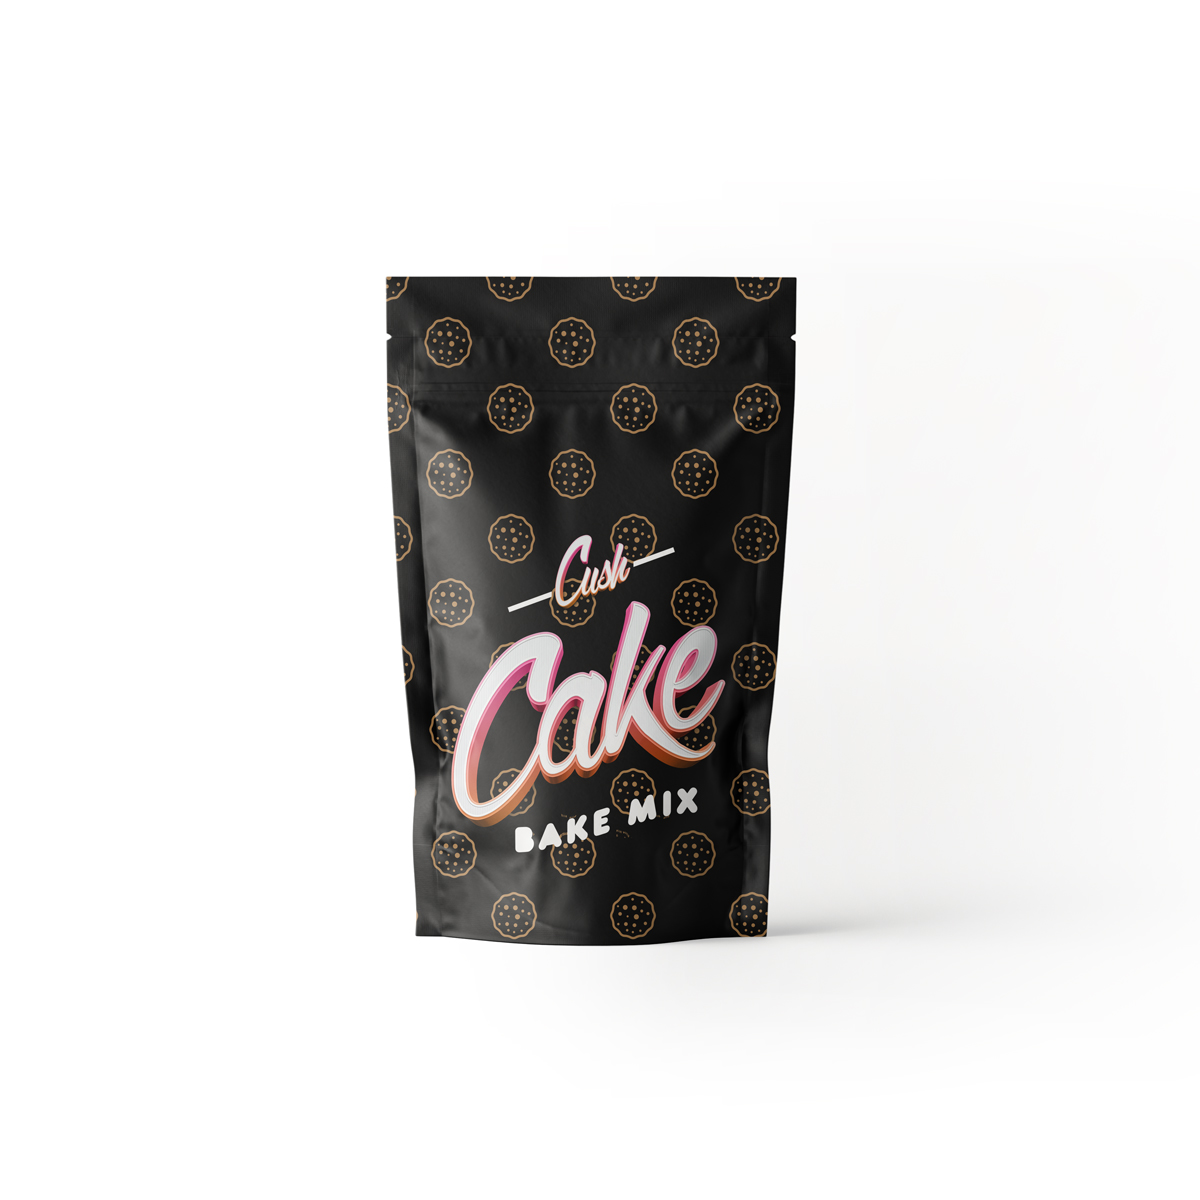
Cushy Cake Mix
$25.00 — available on subscription
Description
Lorem ipsum dolor sit amet, consectetur adipiscing elit, sed do eiusmod tempor incididunt ut labore et dolore magna aliqua. Ut enim ad minim veniam, quis nostrud exercitation ullamco laboris nisi ut aliquip ex ea commodo consequat. Duis aute irure dolor in reprehenderit in voluptate velit esse cillum dolore eu fugiat nulla pariatur. Excepteur sint occaecat cupidatat non proident, sunt in culpa qui officia deserunt mollit anim id est laborum. Test Change!Additional information
| Weight | 20 kg |
|---|---|
| Dimensions | 2 × 3 × 4 cm |
Our Approach!
Autoship Cloud has been created to be extremely customizable with extensive actions, filters, and template files that can all be used to customize and extend the functionality in seemingly unlimited ways. While we could duplicate the Autoship Cloud plugin template files for the product and cart pages and make our changes in the copies directly we’ll be instead using the built in action hooks found in those same templates.
If you’re making extensive layout and structural changes to the functionality, making changes in copies of the template files might be a better approach.
Step 1: Hide the existing options
The first step is to add the following CSS rules to your child theme’s styles sheet to hide the out of the box Autoship options. It’s important to note that we’re hiding these options rather than removing them. This will be explained later but for now just know that while they will be hidden we’re still going to use them.

Step 2: Hooking into the Autoship template Action
Since we’re adding custom HTML using a existing Autoship Cloud actions we first need to add our add_action calls to our functions.php file to include our custom function as a callback. If you’re unfamiliar with how to use WordPress actions and filters you can learn more here.
Let’s use the autoship_before_schedule_options and the autoship_before_schedule_options_variable action hooks as well as a custom function named wp_display_autoship_radio_options to hook into the template files and output our custom HTML. See more about Autoship Cloud Hooks and Actions here
Step 3: Creating the Callback Function
Now that we’ve hooked into the Autoship Cloud actions we need to create the function wp_display_autoship_radio_options we referenced in the callback to our functions.php file.
Looking at the actions in the Autoship Cloud schedule-options.php and schedule-options-variable.php we see that they both supply the WooCommerce product as the first parameter, which we’ll be using later to pull and output the Autoship Cloud Cchedule Options.
Step 4: Populating our Function
Now we need to add the custom code that will output the custom layout. To do this we’re going to use the autoship_product_frequency_options() function. The function takes the WooCommerce product and returns an array of Autoship Schedule options for the supplied product ( frequency type, frequency, and display name ).

First, add the html to output the One-time Purchase radio option.
Secondly, add the html to output the Autoship Frequency Options for this product each as a separate radio button. To do this we’re going to loop through the array returned by the autoship_product_frequency_options() function and output a radio HTML element for each record.
note: we wrapped all the frequency radio options in a custom div since we’re going to customize those as a group later.
Step 5: Applying the new options when clicked by a customer

We’ve hidden the out-of-the-box html, added our own html but now we need our new html options to actually add the selected radio option frequency to the current product.
In Step 1 above we hid the existing options rather than remove them completely. The reason for this is so we can trigger them via jQuery based on the new option selected. This a) allows us to let Autoship Cloud deal with adding the options to the product and b) allows for easier maintenance down the road.
Create a new schedule-options.js file and add the following code to it.
What this jQuery code does is when a click event is triggered on one or our new radio buttons it fires our custom selectFrequency function.
The selectFrequency function check if the customer is clicking a radio option with a value ( no value means they are choosing the One-time Purchase option else they are selecting a frequency option ).
Based on the option we’re selecting and triggering a click on the existing hidden Autoship Cloud Frequency options.
Final Step ( optional ): Add some design flair!
The last and optional step ( but hey, why customize and not add style? ) is to add some custom style to our new layout. Add the following to our child theme’s style sheet.


